When I first started the media studies course, I came in very naive and I was very unsure of how films are made or even how to make a film. We first made a plenimanary task which gave me a really useful insight into how to make a film using Adobe Premier, and how to use the features on the program me. I new a lot about macs when I started due to past experience of using them which was a huge help to work the program as I new all of the shortcuts.
To write all of my notes, essays, questions and all of the written course work I've done during the course of the project. I used Blogger, which allows me to type up text documents and upload them to my own personal blog. The blogger allows me to title my blogs and add gifs, images and links to videos. This is a really easy way for teachers and other people to view my work without me having to personally email it to them, or print them a separate copy. Having my work on a online blog is really helpful in the fact that, my work is saved online so if a computers breaks down and all its data wipes its self, I don't have to worry as my work is saved online.
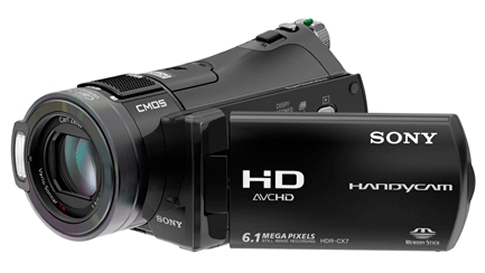 |
| Sony Handy Cam |
To make the film its self I used a Sony Handy cam. This is a really small compact camera that records high quality films. I found it really useful as it was very easy to transport and the camera its self was very self explanatory. The camera also had a touch screen which was a really useful feature to have and was handy to watch back footage and locate certain videos. The camera was the light and could fit onto a tripod very easily which makes the camera footage a lot better. I learnt a lot about cameras using this camera, like how to export my footage from the SD card located in the camera, to getting it onto the mac and importing it to Adobe Premier.
When I started the course I was very clueless on how, to put my footage onto the timeline in adobe premier and start making the film. After doing the preliminary task and being talked through the process and also me working things out for my self. I had a much better idea of how to use Adobe Premier and its features. So I then could make my film by my self, with very little help.
| Adobe After Effects. |
I used Adobe After Effects to change my footage into a black and white film. I did this to add to the whole "film noir" effect. Adobe After Effects was a very confusing program at first but after watching some online tutorials on how to use Adobe After Effects I soon got to grips with the programme and I really enjoyed playing with effects and different features of the programme to make my film as good as possible.
Another technological feature, that I have recently learnt to use and get to know. During the process of making the film, is how to download sound/ audio effects. This is something that I really wanted to include in my film as I think that it is a really effective. Also its a very easy process to do once learnt.
I used the social media like Twitter,Facebook and You tube to upload my film. I did this so I could get some feedback on what people thought about my film, and tips and advice on how to change it and what to do. I also used the social media to promote my film as. In the current day Facebook, Twitter and other media sites are the best ways to promote your work as people can share, like, re-tweet or post your work to all of there friends.
 |
| A printer similar to the one I used. |
My final new technology I had recently discovered is voice recording. I did some voice recording for another students work, I did this in the music studio using microphones, and the music studio software Cubase 6. I learnt how to set up a microphone and then link it up to the studio and then record a speaking part. I thought I went really well but I recorded audio in a different way during my film. I used a handheld recorder to record. I would record my speaking parts then using a USB cable upload the recording on to my computer. This was a really easy way to record audio and was a lot more simplistic than the music studio which took a couple of hours where as using the hand held mic only took half that time.
 |
 |
| Studio Microhpone |
No comments:
Post a Comment